Search for:
Search
About FAMA
History
Mission
State of the Industry
Code of Ethics
2026 FAMA Board of Directors
Committees
Annual Scholarships
Videos
Membership
Member List
Why Join
How to Join
Apply Now
Member Area
Fire Service Resources
Manufacturers Guide
Resource Library
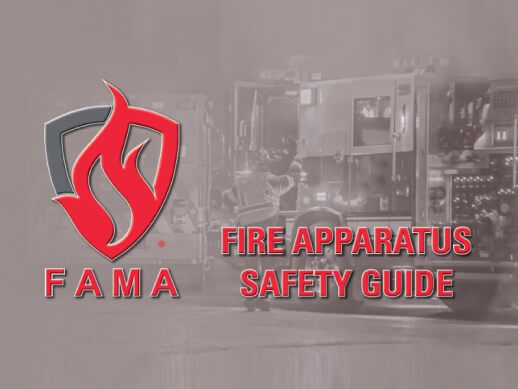
FAMA Safety Guide
Graphical Symbols for Automotive Fire Apparatus
Safety Sign Artwork
Fire Industry Presentations
News
Calendar
FAMA News
Member News
FAMA Newsletter
FAMA Forum Articles
Industry Employment Opportunities
Contact
Login
Water Pumps
January 9, 2018
SPECIAL THANKS TO OUR CORPORATE SPONSOR
IMPORTANT LINKS
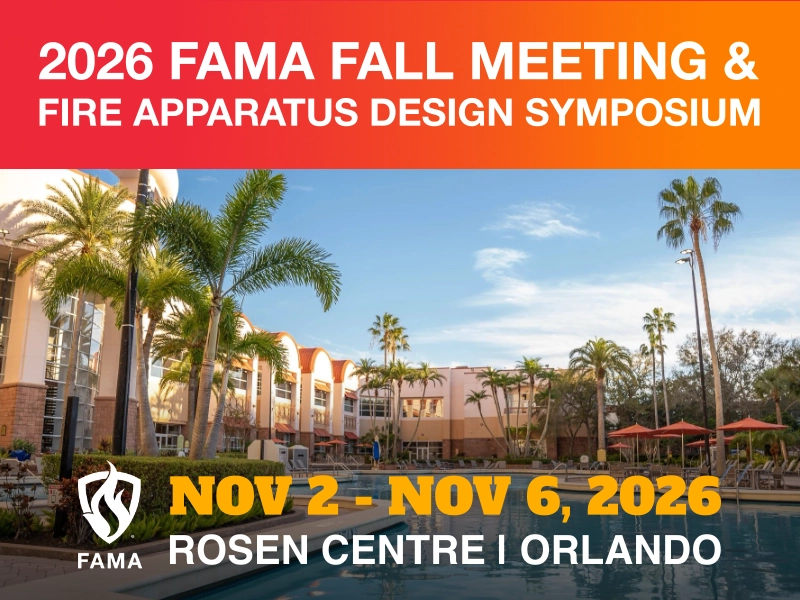
REGISTER TODAY
Learn More
Learn More
Purchase the Guide
Popular LINKS
How to Join
Member List
Events Calendar
Latest FAMA Newsletter